As I've spent countless hours exploring the vibrant, chaotic streets of New Eridu in Zenless Zone Zero, I've come to realize that the game's combat depth extends far beyond its flashy surface. While the initial tutorials do a decent job of introducing basic dodges, attacks, and special abilities, the true artistry of battle unfolds when you grasp the advanced mechanics that turn chaotic skirmishes into calculated performances. The most pivotal of these systems, the one that separates novices from veterans, revolves around the elegant dance of applying Daze and executing devastating Chain Attacks. This synergy is the core rhythm of high-level play, and mastering it has completely transformed my approach to every encounter in the game's ever-evolving world.
For me, understanding Daze was the first major breakthrough. It's not just a status effect; it's a resource you actively manage. Visually, it's represented by a secondary bar situated directly beneath an enemy's health bar. This bar fills up gradually as I pummel foes with standard assaults. The sensation of watching that bar climb is one of building tension. When it finally maxes out, the payoff is immense: the enemy enters a stunned state, becoming completely vulnerable and immobile. This moment of weakness is the game's invitation to unleash hell. Not only do attacks during this period deal significantly increased damage, but it also creates the exclusive window to initiate the spectacular Chain Attack sequence.
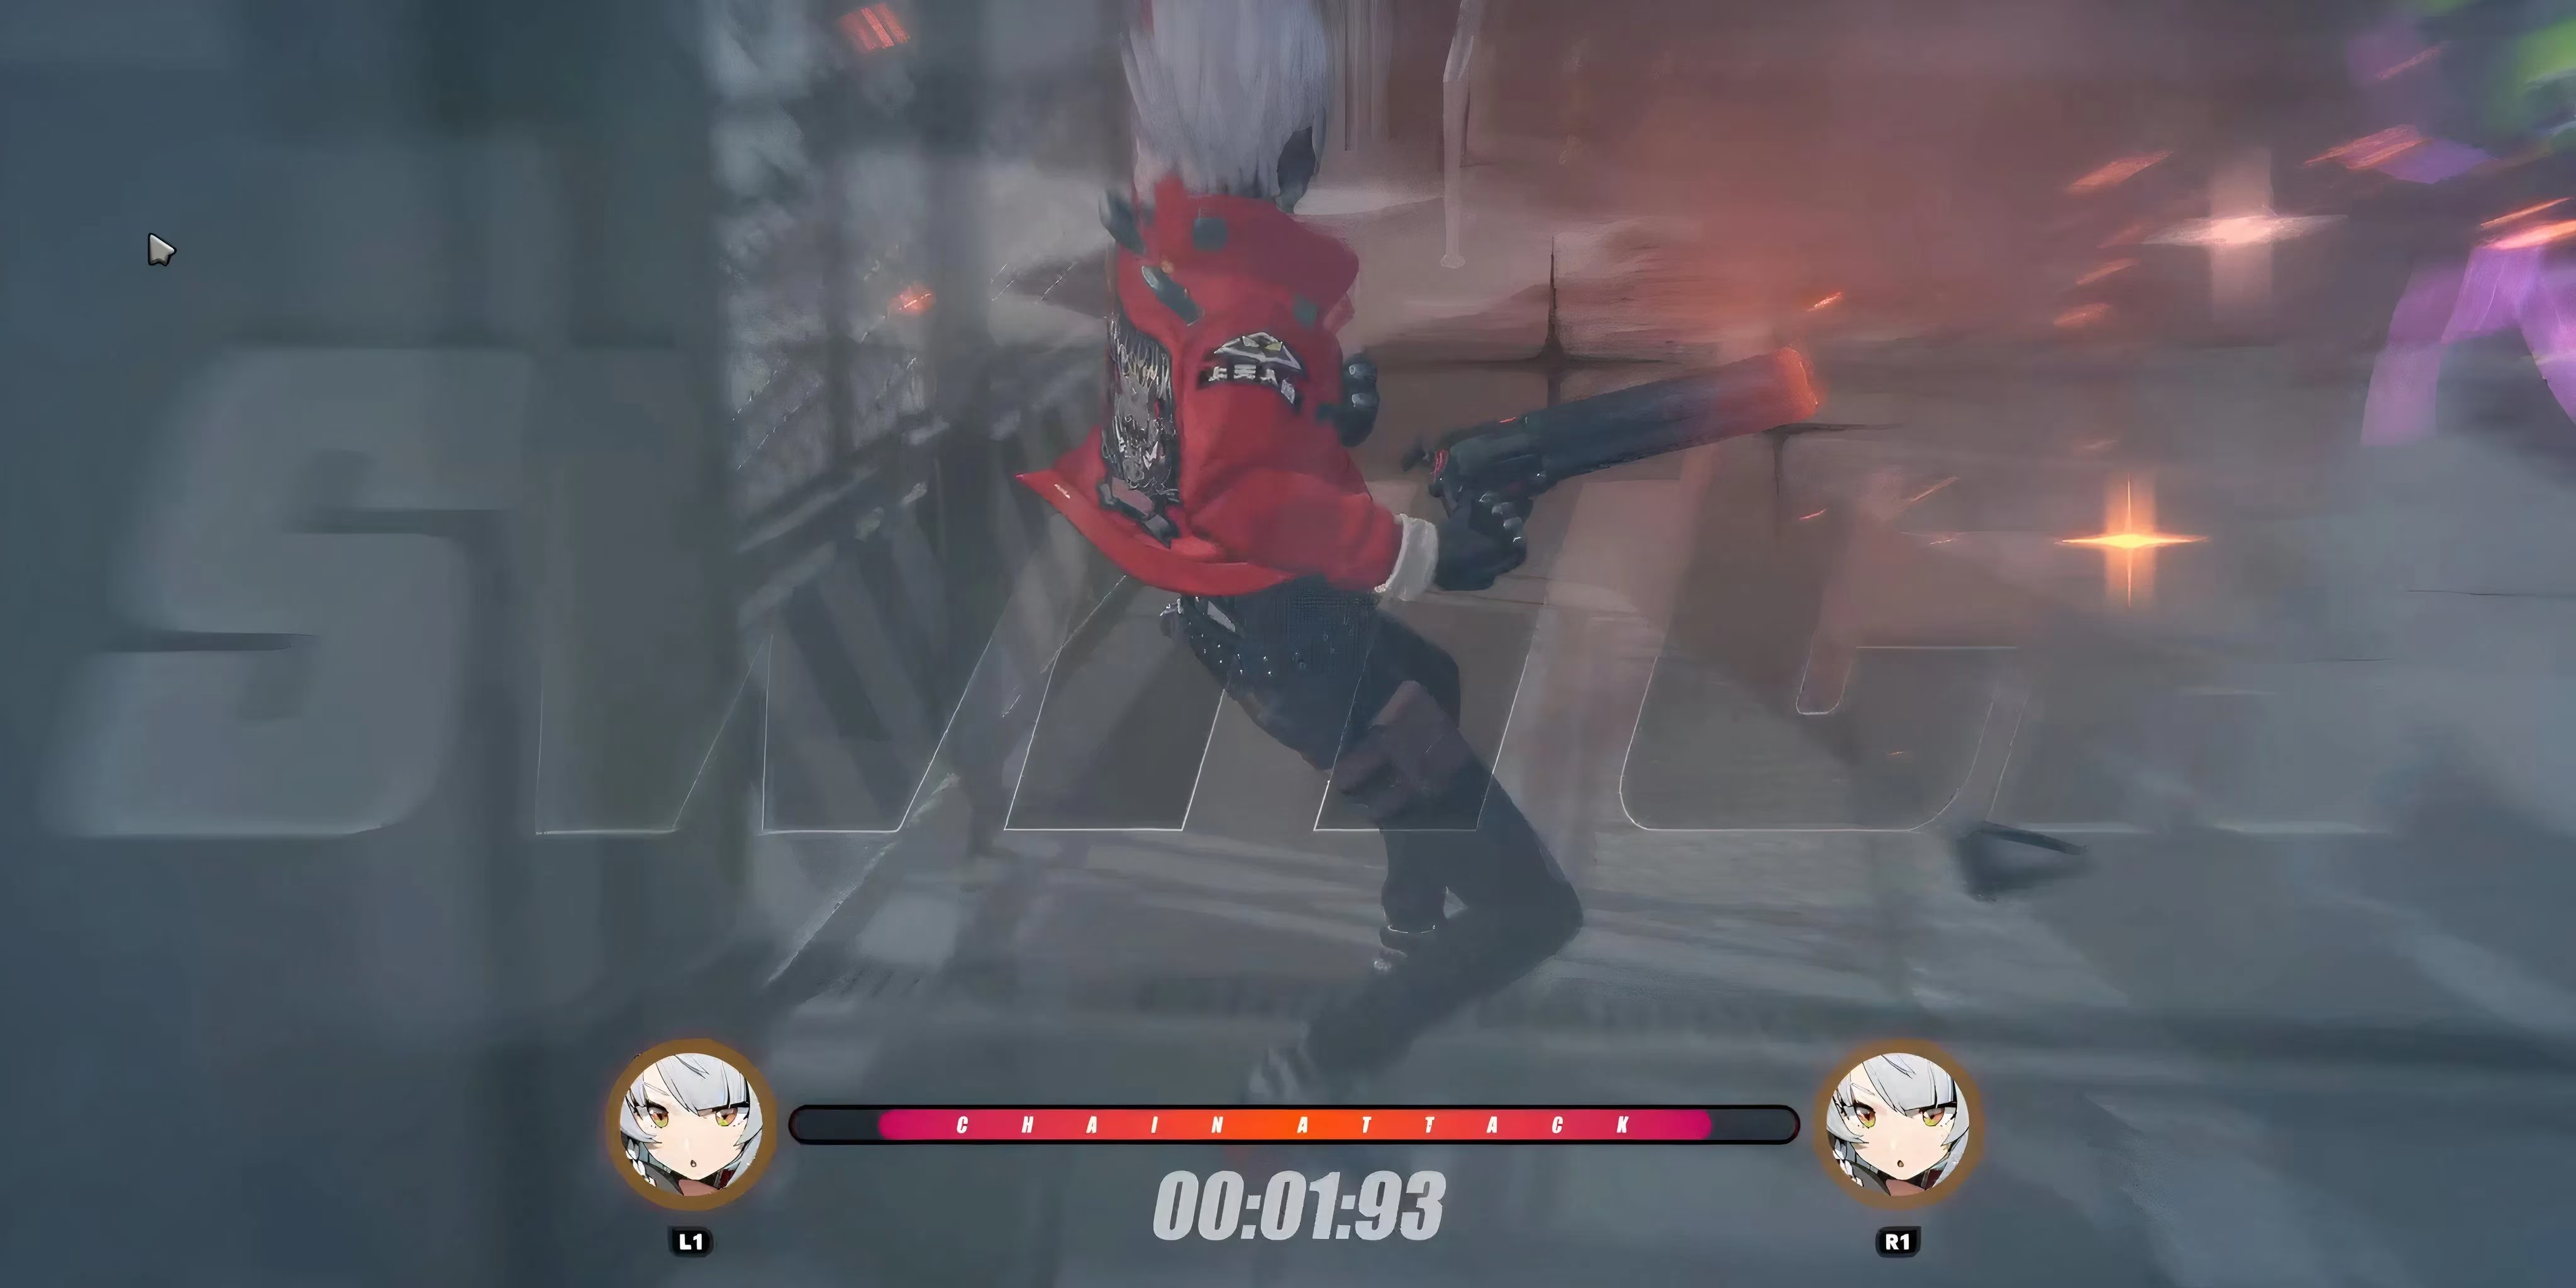
The transition from a Dazed foe to a Chain Attack is seamless and deeply satisfying. Once that stun takes hold, I immediately switch to a heavy attack. The instant the blow lands, the screen's dynamics shift. A prominent timer materializes at the bottom, and a prompt appears, calling for a specific button input. Hitting that button is like conducting an orchestra; one of my support characters flashes onto the scene in a blaze of cinematic flair to deliver a follow-up strike. This isn't just a simple combo—it's a coordinated team assault that often involves unique animations and massive damage multipliers. The timing is generous but deliberate, making the whole process feel impactful rather than frantic.
Of course, the real challenge lies in building that Daze bar efficiently, especially against tougher bosses and elite proxies that don't stay still. Through my experimentation, I've identified four key pillars that govern the Daze accumulation process. Optimizing each one is crucial for a fluid combat flow.
The Four Pillars of Daze Accumulation:
-
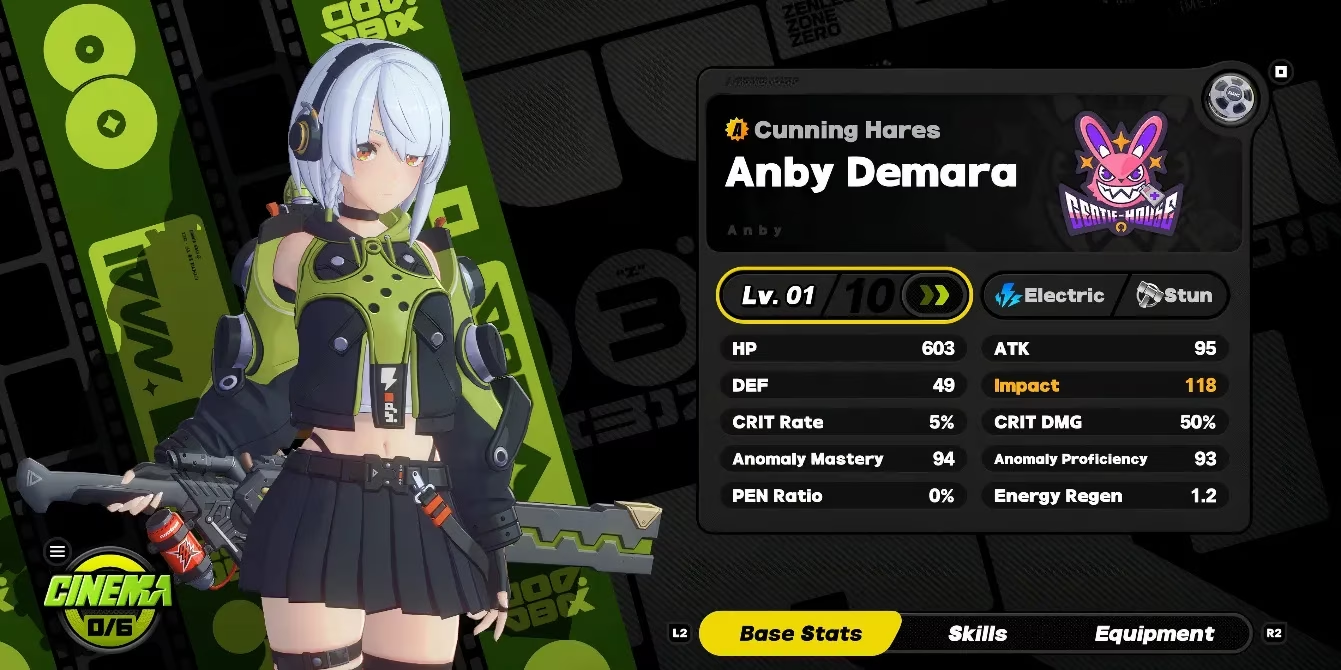
Impact Rating: This is the foundational stat. I always check a character's basic Impact rating, as it directly determines their innate potency for filling the Daze meter. Characters like Anby Demara are natural-born Daze machines due to their high base Impact. This rating can be enhanced through two primary methods:
-
Ascension: Advancing a character's phase significantly boosts their core stats, including Impact.
-
Equipment: Slotting in advanced W-Engines and optimizing Drive Disc sets can provide substantial bonuses to this crucial attribute.
-
-
Daze Multiplier: This is a more nuanced value found on a character's details page. It acts as a percentage modifier, amplifying the Daze value of each hit based on the character's specific skills and talents. A character with a 150% Daze Multiplier is simply more effective at stunning than one with 100%, all else being equal.
-
Daze Amplification: This is where gear and team synergy truly shine. Certain high-tier Drive Discs (like the Woodpecker Electro set) and specialized W-Engines come with passive effects that directly "Amplify" or increase the Daze dealt by the wielder. I make it a point to farm for these pieces to outfit my primary Daze-applier.
-
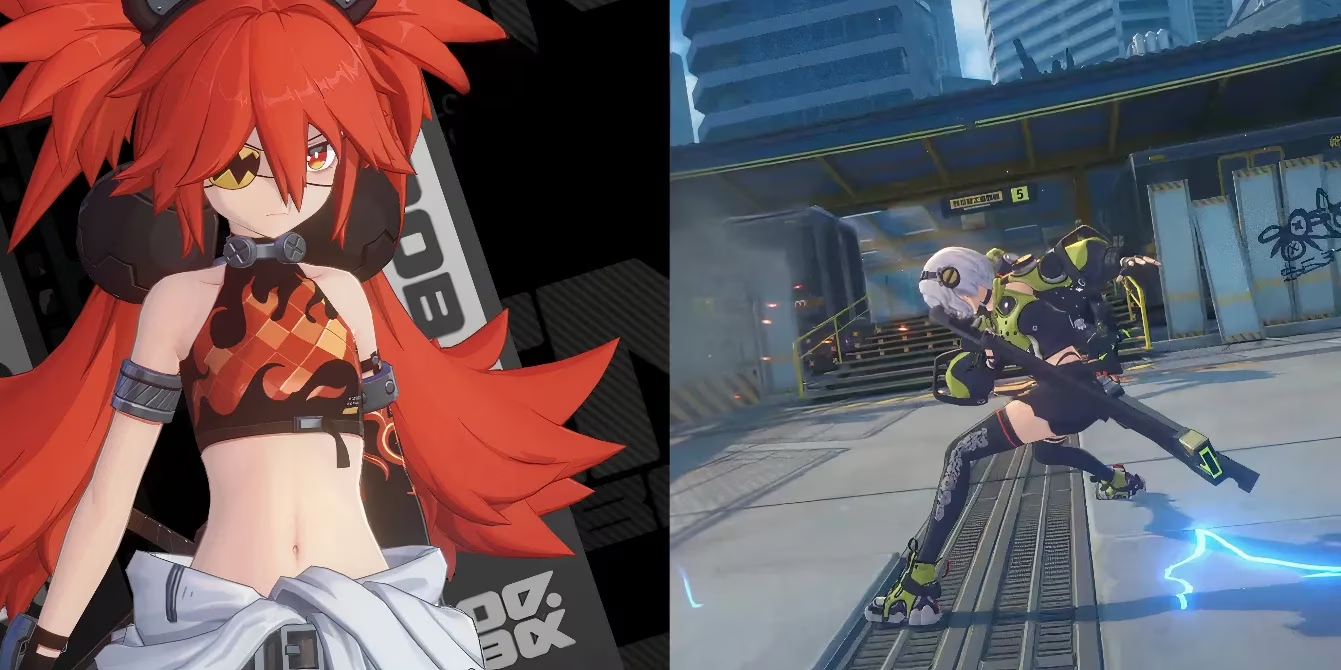
Physical Anomaly Buildup: This is a more advanced, often character-specific mechanic. Some agents have abilities that inflict a "Physical Anomaly" status (like Concussion or Shatter). Successfully applying these anomalies often contributes a large chunk of Daze buildup instantly. Characters like Billy Kid excel in this area, making them invaluable for breaking through super armor or stunning enemies with a single, well-placed skill.
My standard battle strategy has become a structured ballet based on these principles. I open an engagement with my high-Impact, high-Multiplier "Breaker" character, whose sole purpose is to assault the enemy and max out the Daze bar as swiftly as possible. The moment the stun icon appears, I cease all other actions. This is the critical window. I immediately swap to my heaviest hitter—my "Damage Dealer" like a souped-up Nekomata—and launch the heavy attack to trigger the Chain Attack sequence. During the Chain Attack time-slowing effect, I can often call in multiple assist strikes from my team, layering on absurd amounts of damage while the target is completely defenseless.
Here’s a quick reference table I mentally follow in combat:
| Phase | Primary Goal | Key Action | Optimal Character Type |
|---|---|---|---|
| Opening | Build Daze Meter | Use rapid, multi-hit normal attacks & skills | High Impact / Daze Multiplier (e.g., Anby) |
| Execution | Trigger Stun & Chain | Use Heavy Attack on Dazed foe | Any character (triggers team attack) |
| Damage Window | Maximize Burst Damage | Unleash Ultimate & EX abilities | High DMG / Crit Rate (e.g., Nekomata, Soldier 11) |
Reflecting on my journey from button-mashing newcomer to a tactical combatant, the Daze and Chain Attack system is the elegant core around which Zenless Zone Zero's combat orbits. It incentivizes observation, team composition, and precise timing over mindless aggression. While the initial information dump on Impact, Multipliers, Amplification, and Anomalies can seem daunting, it quickly becomes second nature. The game's design brilliantly rewards this knowledge; there's no greater thrill than perfectly staggering a monstrous boss mid-charge and dissolving its health bar in a single, flawless Chain Attack sequence. It transforms every fight from a test of reflexes into a strategic puzzle, and that is where Zenless Zone Zero truly shines for me.
Comments